If you play an instrument, you know that it’s impossible to get better without practice. But how should you practice? Many people simply draw the conclusion that it’s only about how many hours you can spare. But research shows that that’s not the only thing it comes down to.
Perhaps you would like to practice more efficiently? We’re going to take a closer look at mindful practice and how you can give it a try. This is not only something that will make you a better musician, but also eliminate a lot of frustration and help you to focus on the task at hand.
What is Mindfulness?
 According to mindful.org, “Mindfulness is the basic human ability to be fully present, aware of where we are and what we’re doing, and not overly reactive or overwhelmed by what’s going on around us.”
Even though being mindful about what one is doing isn’t a new phenomenon, the word is popularly used in connection with meditation and yoga.
Regardless of whether you care about meditation and yoga or not, being mindful when practicing is essential for learning properly. After all, if you’re not concentrating on what you’re doing, you’re not going to learn much at all.
Mindful Practice
The very first thing you need to do is to turn off your cell phone and everything else that might disturb your concentration.
One way to get into the right mood and start concentrating is to prepare and warm up. Taking out your instrument, tuning it and finding your music is the preparation that tells your brain, “Okay. You know what’s going to happen and now you’ve had plenty of time to adapt to what we’re doing next.”
Getting in the Swing of Things
Instead of starting your practice session by playing the hardest piece of your repertoire, you should warm up. This will both help your fingers to get warm and will help with other aspects of your playing, such as intonation.
The kinds of exercises you can do depend on what instrument you play, but scales and arpeggios are good examples. Start by playing really slowly, giving yourself time to intonate properly. And even if you play an instrument that doesn’t require any intonation, like the piano, you give yourself the opportunity to slowly increase the tempo.
Here are a few suggestions that you can use when warming up:
 If you play a wind instrument, you can play exercises that help with your breathing and articulation.
- If you play the guitar, exercises that strengthen the left hand are great. Practice hammer-on and legato exercises.
- If you play a string instrument, try the scales using different positions. You should also play some bow technique exercises regularly.
- If you play the piano, there are countless etudes that are composed to help with different technical skills that you can play (of course, there are etudes for most other instruments as well, but the piano repertoire is extremely vast in this area).
When you have warmed up and it’s time to start practicing for real, the importance of mindful practice becomes even greater. To illustrate this, we’re going to take a look at one of the most common mistakes people make.
I’m a piano teacher and even though I remind my students of this constantly, it still happens a lot when they’re practicing at home.
Plowing Through Mistakes
What happens is that they practice the first few measures of a piece until they know them pretty well. Then they move on until there is something they find difficult and they get it wrong. At that, they stop playing and start all over again from the top.
 What do you think they should do differently?
They should stop at the difficult passage and analyze it, trying to understand why it’s tricky and how they should play it. Then, when they know in theory how it should be played, they should practice that particular section over and over again.
When they simply start over from the beginning, they don’t give themselves a chance to fix what they get wrong. They just hope that it’s going to go better the next time around. The problem is that it doesn’t. Then, they end up playing the beginning of the piece hundreds of times.
Eventually, they do get past all the difficult passages, but only after having started over every time, they got it wrong. The result is that once they have learned the whole song, they will play the beginning really well, but struggle toward the end because they haven’t played that as many times.
The Solution: Mindfulness!
This is why it’s important to break the song down into tiny pieces that you practice until you can’t get them wrong. Then, you can move on with the rest of the song. In order to do this, you have to be mindful of what you’re doing.
Many people feel like practicing like this is a waste of time, but most often you actually save time doing it this way. When my students have a hard time playing a couple of measures, I ask them how many times they think they would need to play them in order to know them well. They take a guess, perhaps 30 times. Then I tell them to play it 30 times and we’ll see if that works. You’d be surprised at how few times it usually takes – 30 sometimes drops to 8!
But the point is that if they would have played from the beginning every time, it would probably take them at least 30 times because their concentration is disrupted by everything else they’re playing.
Mindful practice also means that you concentrate enough to really listen to what you’re playing. As soon as you identify something that should be done differently, you focus all your attention on that problem, instead of trying to make everything work at once.
A Mindfulness Challenge to Try
If you simply have been playing without any plan, it can take some time to get used to mindful practice. For this reason, I came up with this challenge to get you started!
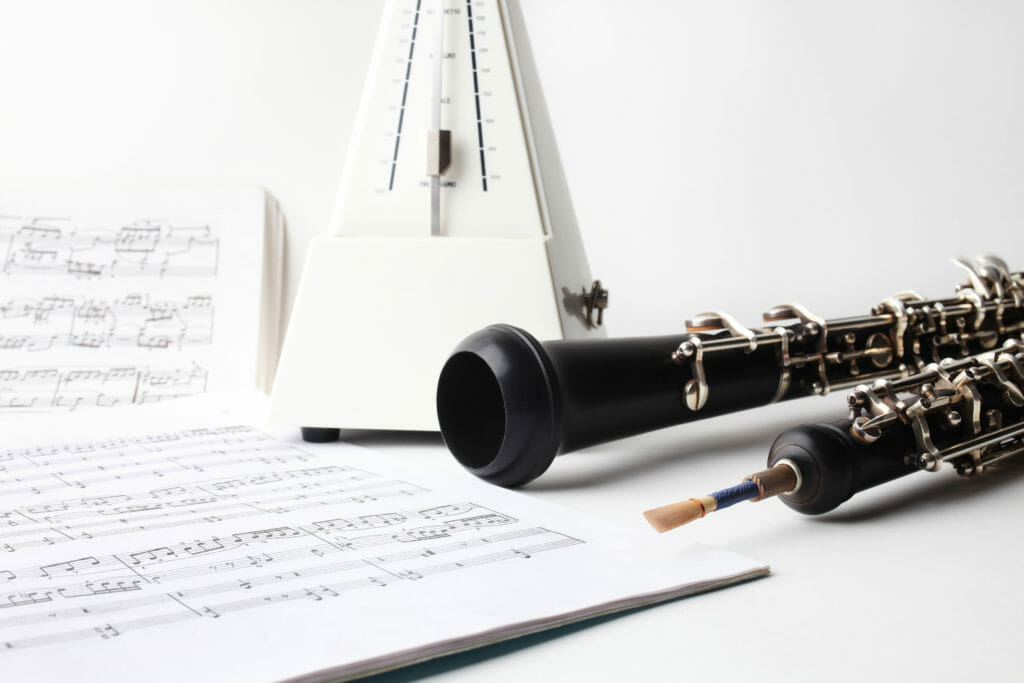 This is a challenge that works no matter which instrument you play. You’ll need a metronome, which you can download online if you don’t have one.
Select a piece that you know how to play well, perhaps one of your favorites. Record yourself playing it the way you usually would, but don’t listen to it just yet, keep it for later. Then, set the BPM on the metronome at half of what you would normally do.
Record yourself as you play the whole piece through. The slow tempo will allow you to pay extra attention to accurate rhythm and intonation. Then, it’s time for you to listen to your recording. Be critical of your playing and think about what could become even better.
Now, set the metronome to a tempo slightly faster and do the exercise again, trying to focus on the things you want to improve. Listen to the new recording and see if you managed to play it any better this time. Identify something more that you think could be improved.
You’re going to do this twice more until you’re back playing at the tempo you normally do. Now, it’s time to compare the first and last recording. Is there something different about them?
This exercise might feel time-consuming, but it’s extremely useful to do now and then. It allows you to really focus on what you’re doing and makes you aware of things you need to address when you practice.
More Mindfulness Resources
Did that exercise help? If you want to learn more about this subject, I recommend reading the following articles:
Quality Over Quantity
It has been proven that musicians that practice many hours also are more successful, so it doesn’t only come down to quality. But if you’re the kind of musician that maybe only has 15 minutes or half an hour a day to practice, you are going to improve much faster if you practice mindfully.
Don’t try to rush through a lot of material because there’s a lack of time. It’s better to choose maybe one or two things to focus on and to do them well, rather than trying to speed through things and sacrificing quality.
Even though mindful practicing sounds a bit harder than just playing however you want, the reward will be worth it. A wise person once said that we have to choose between two pains: the pain of discipline or the pain of regret. The pain of discipline is always better, just like mindful practice always is better than mindless!
A great way to ensure that your practicing remains mindful is to document your practice time in a progress journal – noting what went well, what needs work, and what the concrete next steps are.
Naomi Wilson is a Musicologist and experienced music teacher from Sweden. You can find more of her helpful advice and content over at
Hobby Help.
The post Mindful Practice Makes Perfect appeared first on Musical U.